
Mala Use & Care
Holding the Mala
There are many different ways to hold malas and cycle through the beads. Here are methods that I use. Please feel free to do whatever works best for you!
Neck and Wrist Malas (27, 54, 108 beads):
Thumb Method
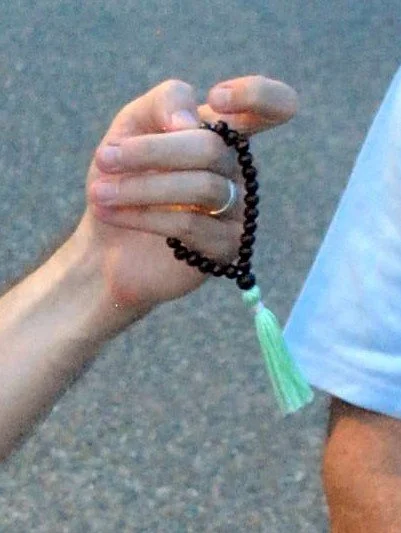
Use one hand, palm facing towards you, thumb up. Hang the mala over the middle, ring, and little fingers. Curl the lower fingers loosely around the mala. The index finger can be raised and lowered to stabilize. Use the thumb to move through the beads.
Finger Malas (11, 14, 18 beads):
Thumb Method
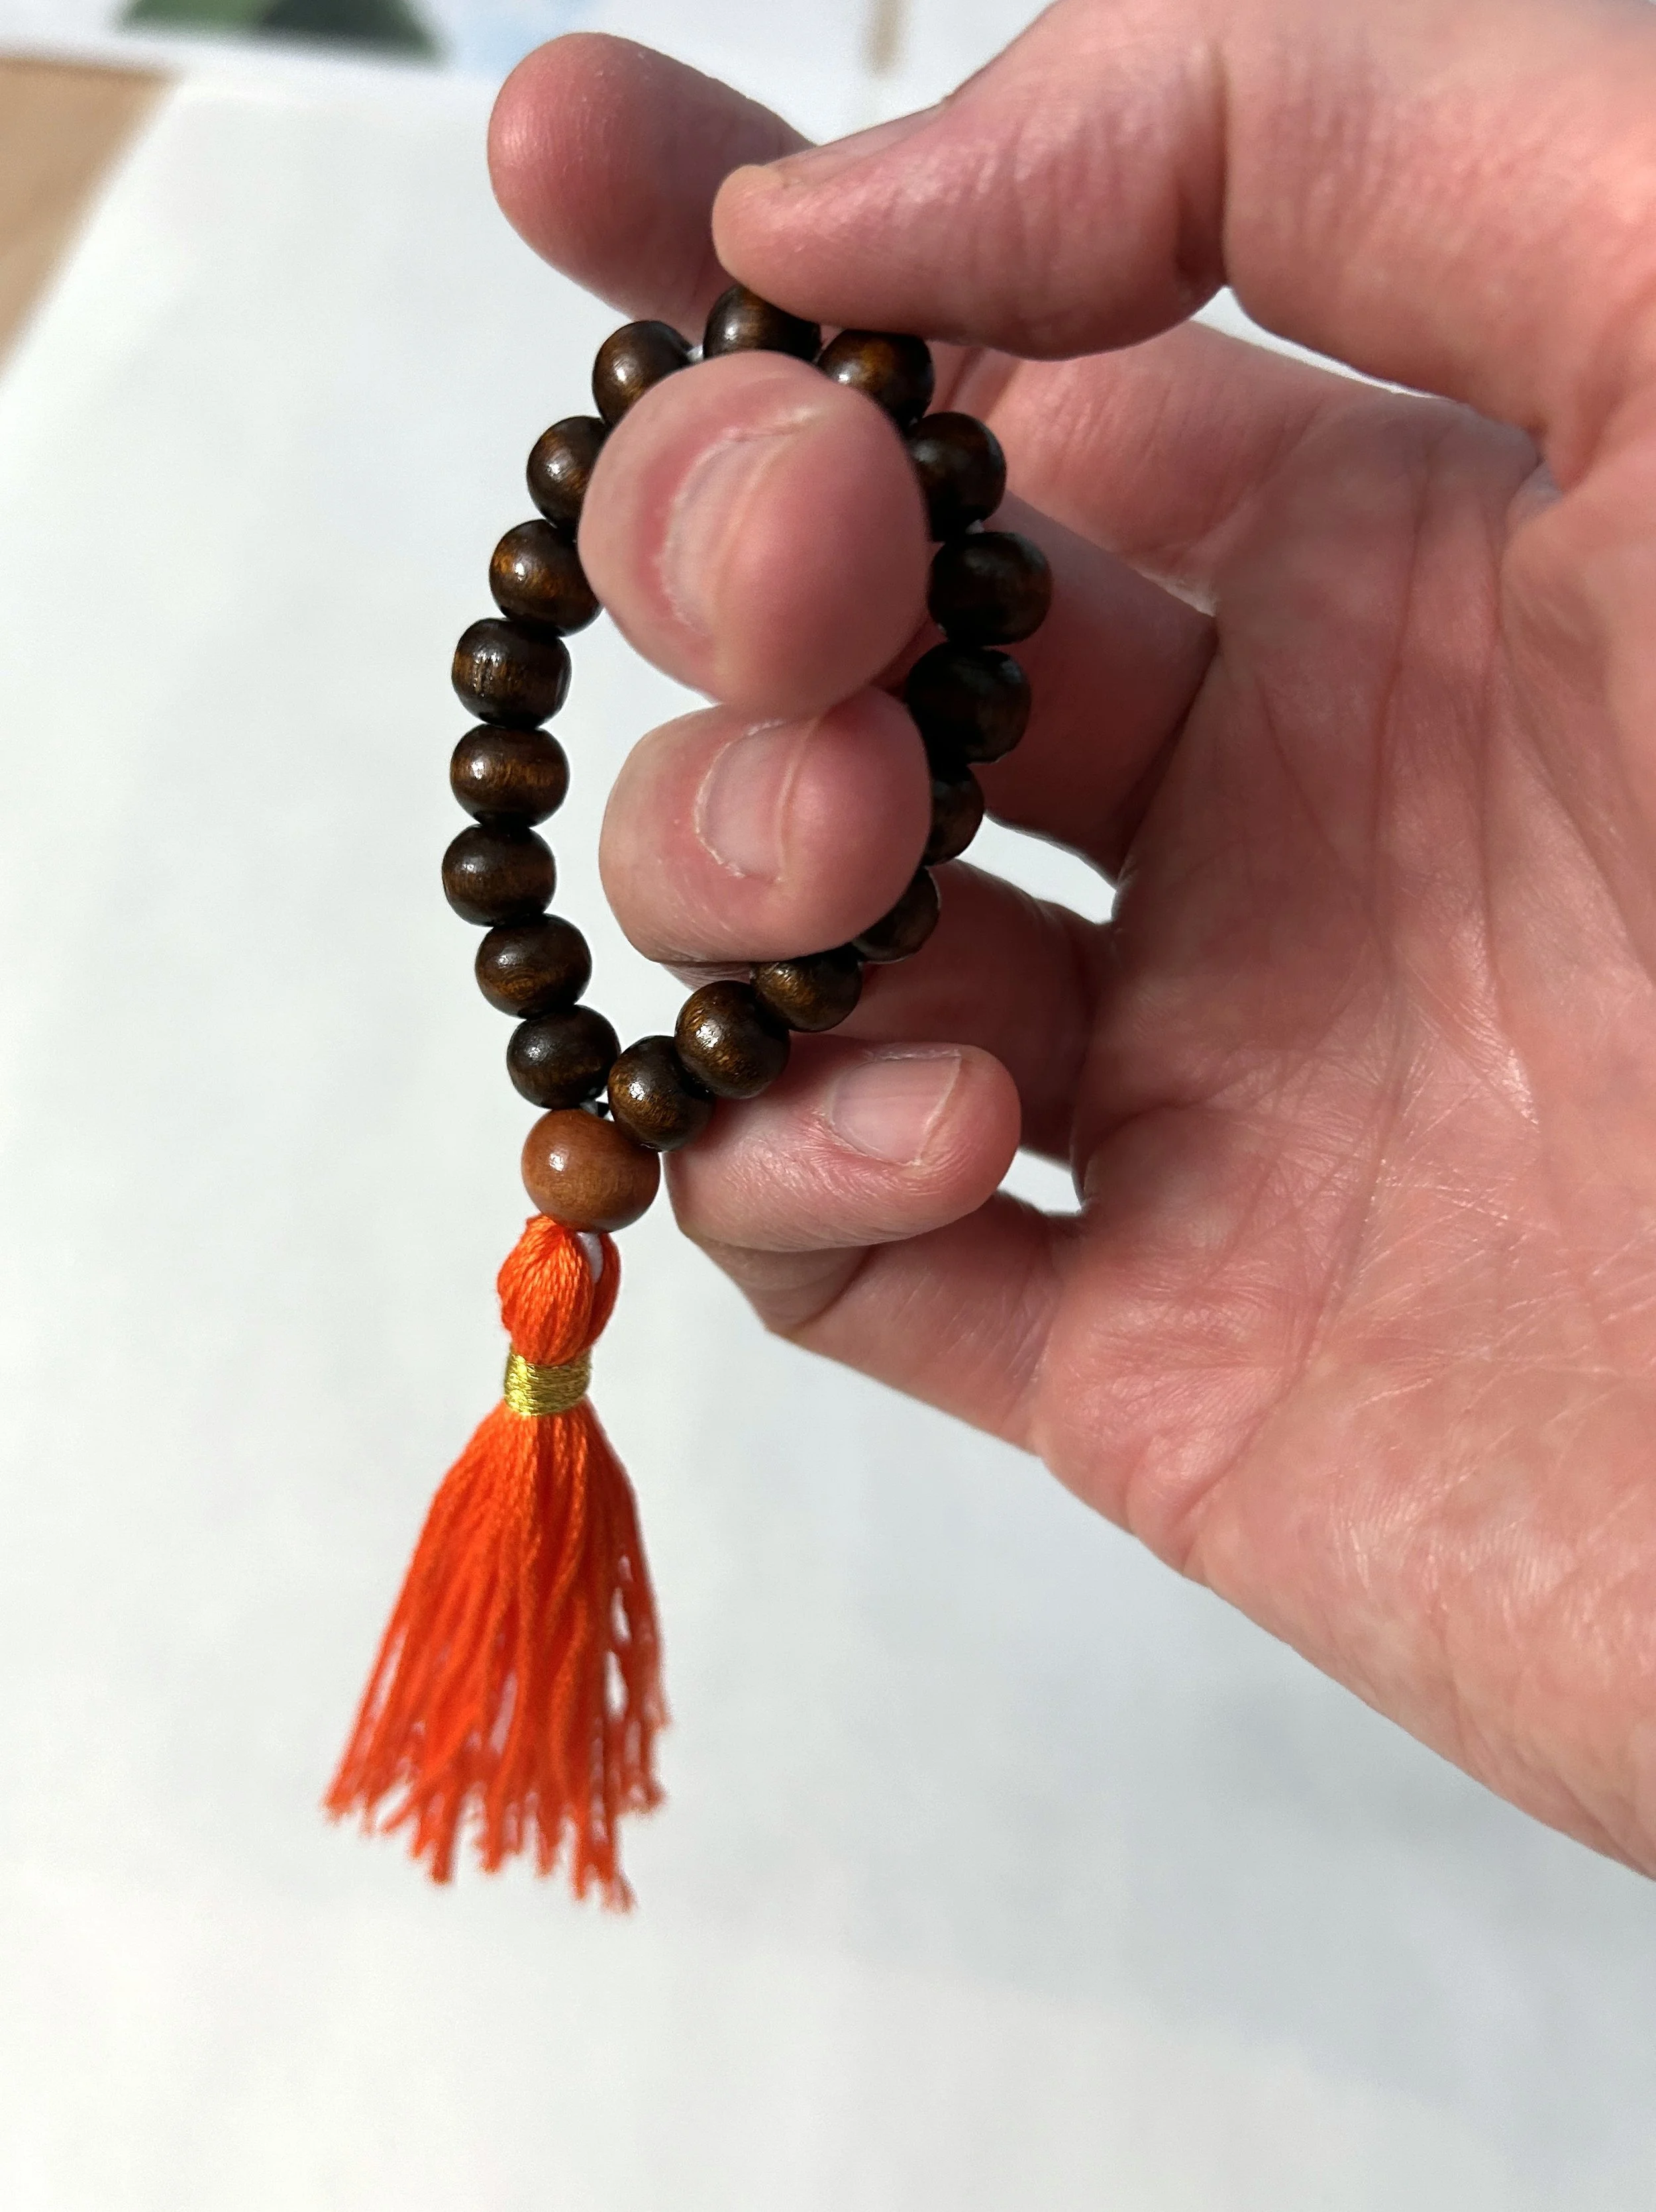
Use one hand, palm facing towards you, thumb up. Hang the mala over the edge (distal phalange) of the middle or ring finger. The index finger serves to stabilize. Use the thumb to move through the beads.
Finger-Walking Method
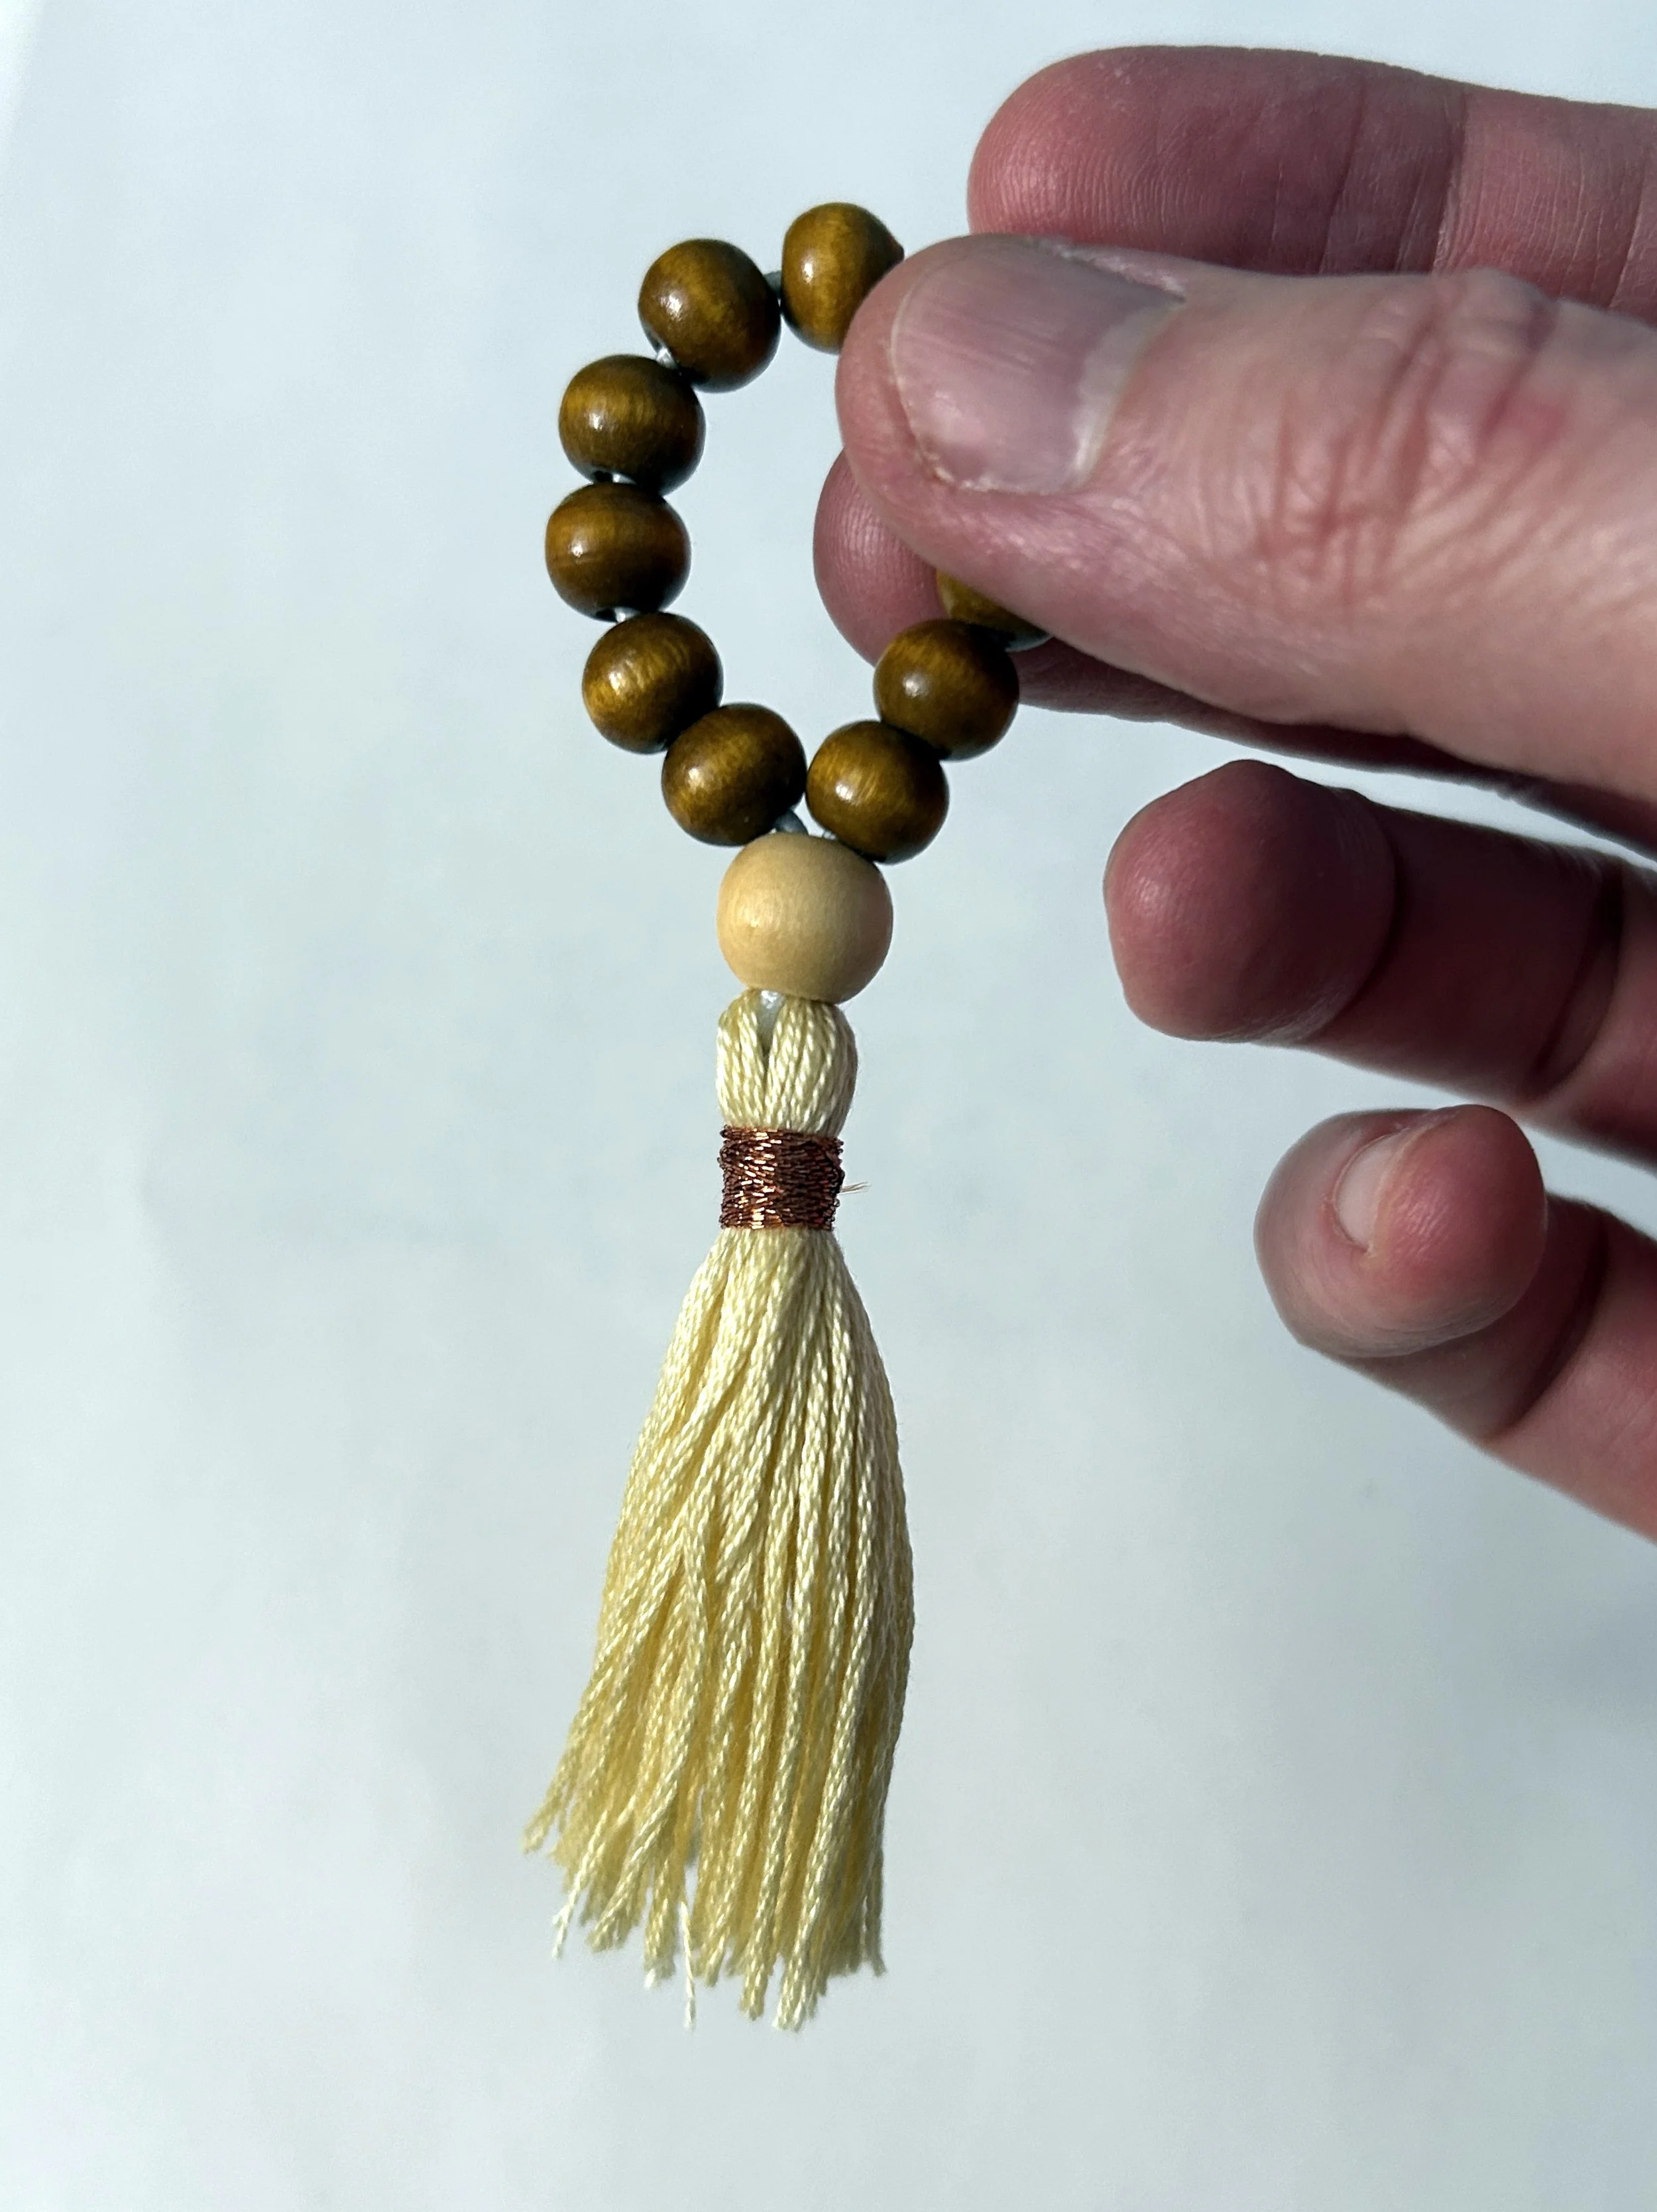
Use one hand. Pinch a bead with the thumb and middle finger. “Walk” the beads by using the index finger to find the next one.
Finger-Trace Method
Place the finger mala in the palm of one hand and touch a bead with the tip of the index finger of the other hand. Move along accordingly. Alternatively, the mala can rest on a solid surface, such as a table.
Using the Mala
Begin at the first bead adjacent to the joining bead. Start your practice – breath, mantra, and/or affirmation, and then move to the next bead along the string (away from the joining bead).
Repeat.
Keep moving along the mala until the joining bead is reached. The joining bead is typically used to honor the teachers, those who have gone before, and those who inspired. It can also be used as a general reminder to appreciate.
The practice can end here -or- be continued by cycling through the beads in the opposite direction until the joining bead is reached again.
Cleaning the Mala
Centered Presence Malas are made of materials (wood, natural fibers) that can easily be cleaned when necessary.
Fill a bowl or container with very dilute hand soap solution (mostly water, minimal suds).
Immerse the mala and gently swish for 20-30 seconds.
Hold the mala by the end opposite the tassel and rinse under a faucet with ambient water. Allow the water to run down the length of the tassel. This will cause the tassel fibers to align in the direction of water flow.
With a paper towel or thin cloth, gently press any excess water from the tassel.
Hang the mala or lay flat to dry (overnight).
Helpful tip: If the tassel becomes disheveled through use, transit, or shifting storage, run the tassel under water to realign it (steps 3-5 above).
Trimming the Tassel (Optional)
Upon creation, final tassel length is maximized for aesthetics and versatility. Some users enjoy the original length, while others may prefer a shorter tassel. Customize the tassel length to your liking.
Hold the mala at the joining bead and smooth the tassel threads in the direction of the tassel fringe to align the threads.
With one hand, squeeze the tassel and hold it between the thumb and fingers just below the desired length. Cut straight across with sharp scissors. If it’s uneven, don’t worry! The next steps will fix this.
Orient the tassel so that the fringe end is upright. Pinch the tassel close to the fringe end. Trim the uneven threads across.
Reposition the tassel several times to ensure strands are even from all sides.
Caution: Do not trim the tassel too close to the adorning thread wrap. The thread wrap holds and stabilizes the main knot of the mala string. If this part becomes compromised, the mala could potentially separate.
About the Artist
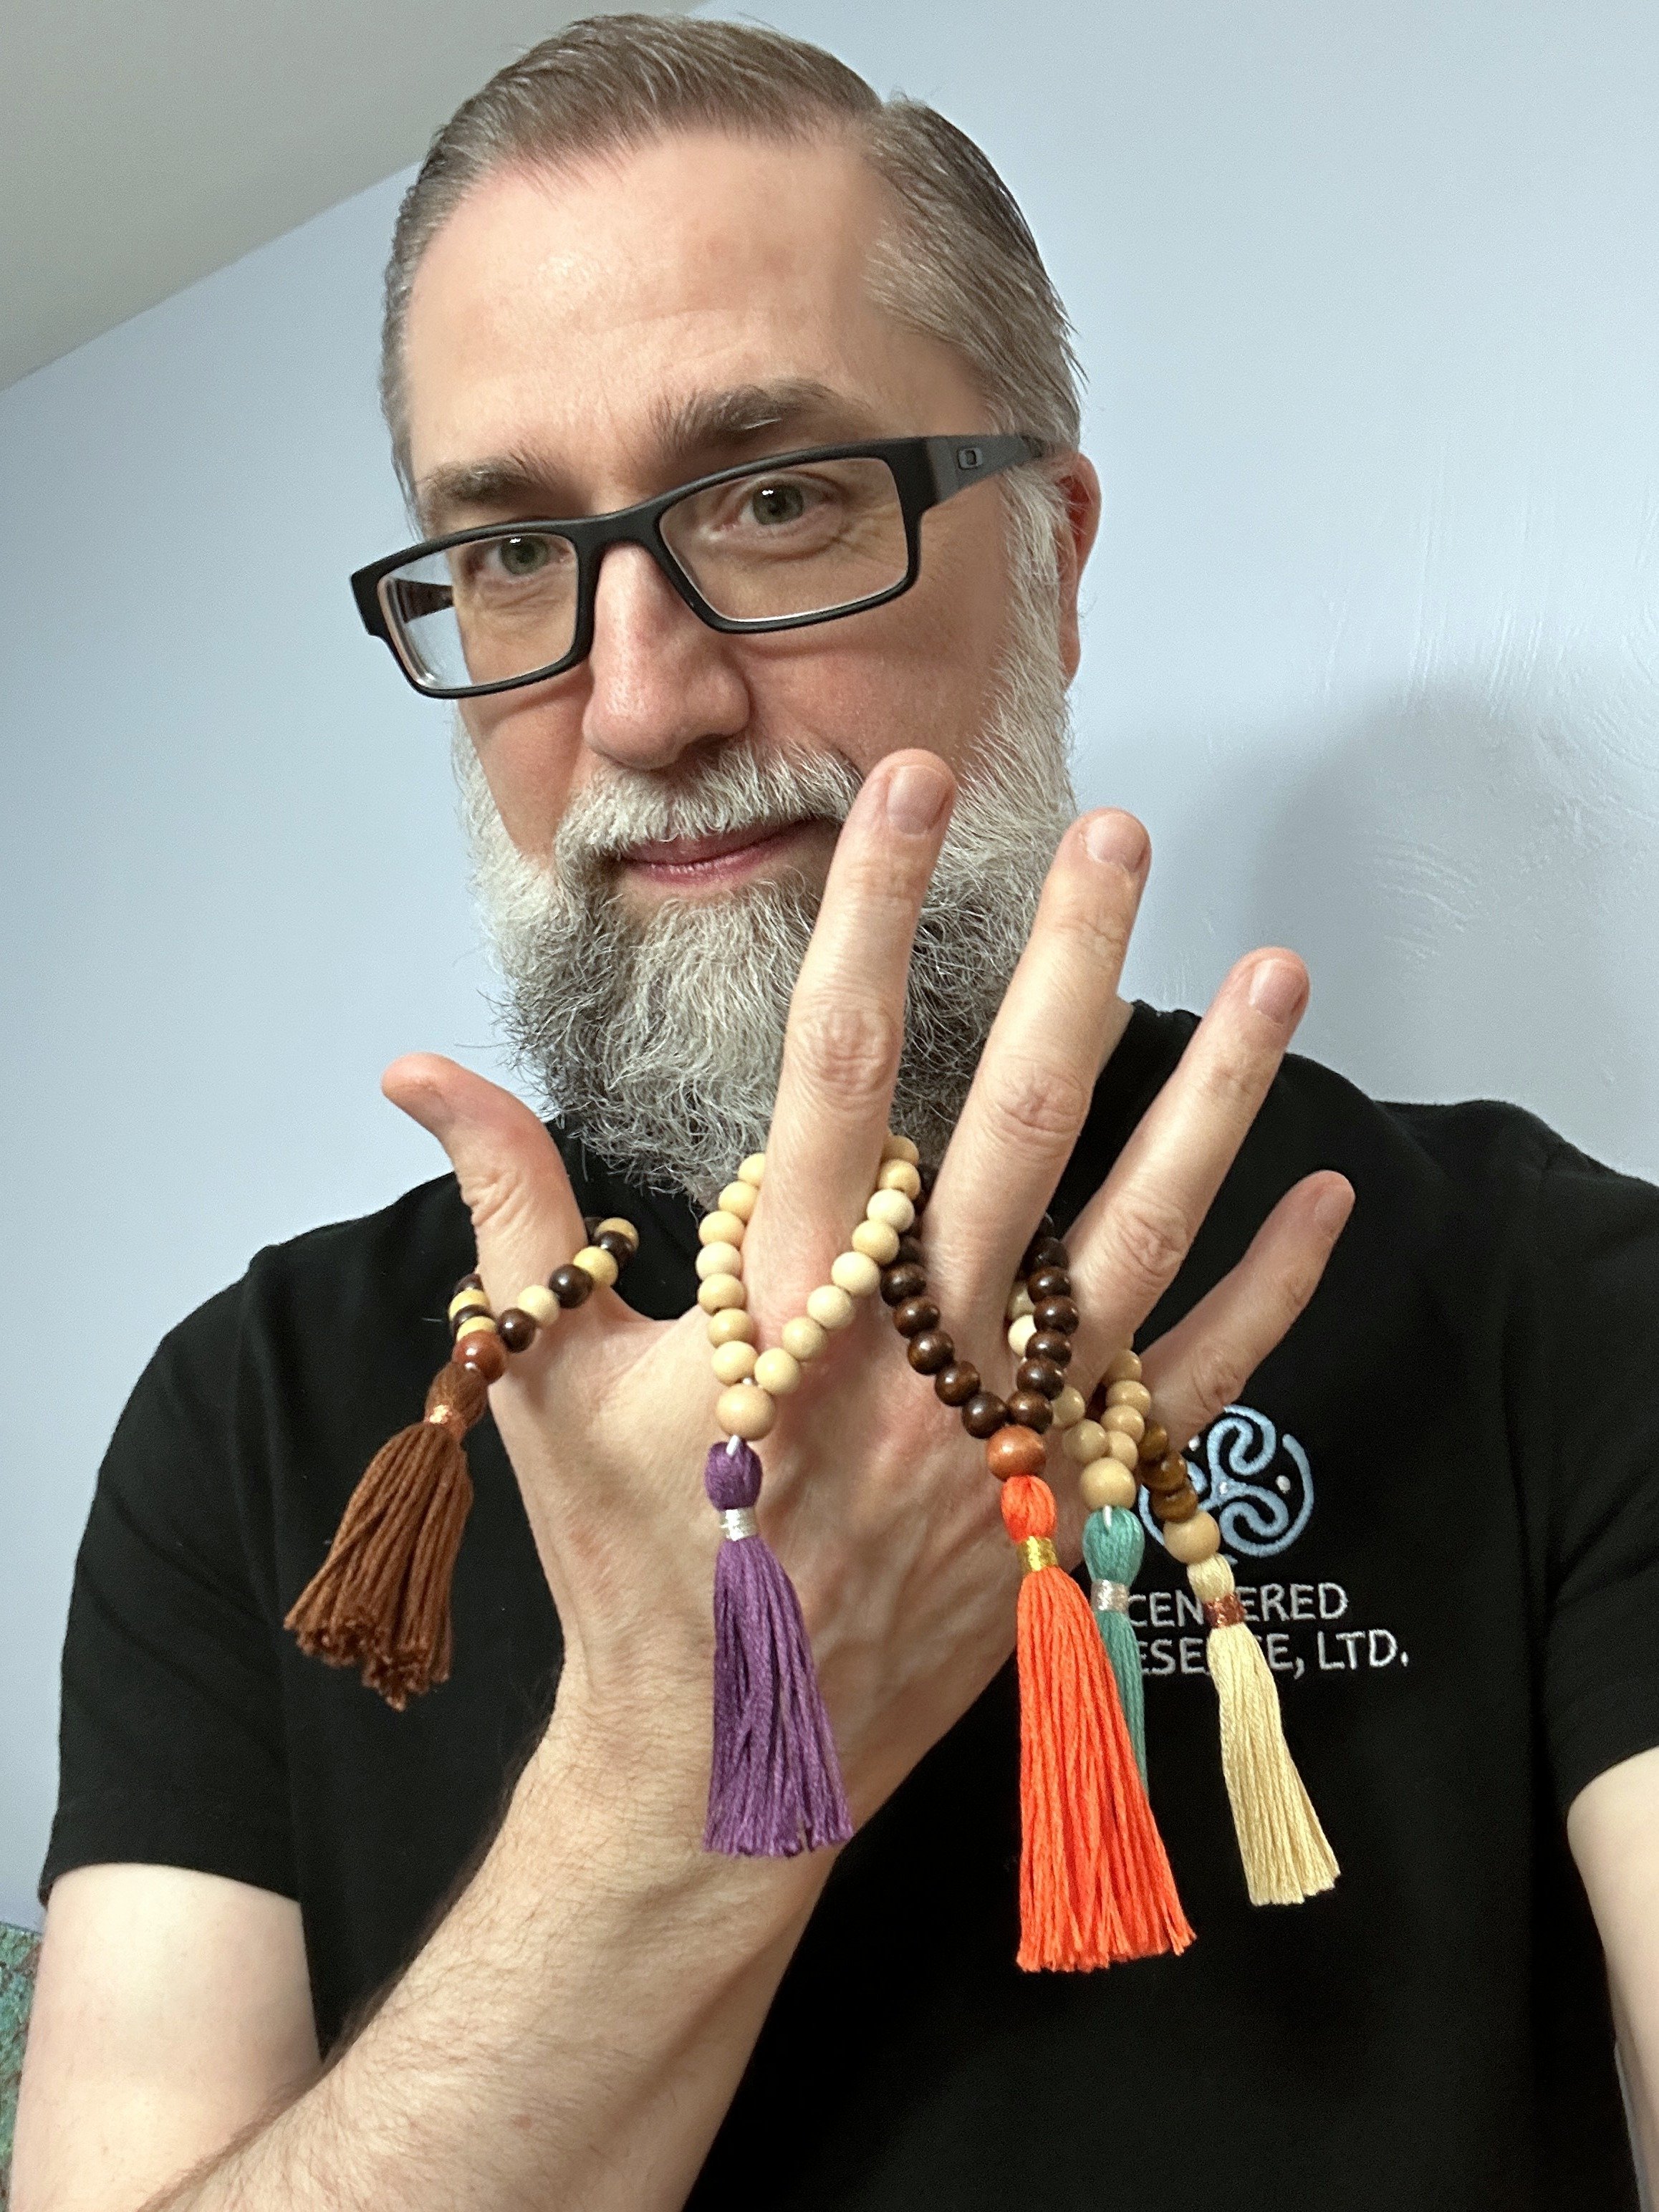
Michael Patrick, LMT, KYT, CPC
As a Licensed Massage Therapist, Kripalu Yoga Teacher, Certified Professional Coach and former Scientist, I bring all the gifts of who I am to my work. Driven by the desire to elevate others, my career initially spanned the biotech industry, interdisciplinary research and laboratory safety. Over the past decade, it evolved to wellness and now I work in my own company, Centered Presence, Ltd.
As an artist, I have focused my creativity in making malas — in all shapes, sizes, patterns and themes. Malas are wonderful tools for repetitive flow practices like meditation, mantras and affirmations.
Even if the malas I make are not used in dedicated practice, but are just looked at or touched in a state of appreciation, that already is something!
To be in a state of appreciation is to be in alignment with one's highest self -- and that is the aim of everything I do!